Saturday 17 December 2011

Gua Musang-Dabong Shuttle Train Exploration

Date: 9 - 11 December 2011
Event: Alpha Exploration Gua Musang - Dabong Shuttle Train
Location: Gua Musang & Dabong, Kelantan
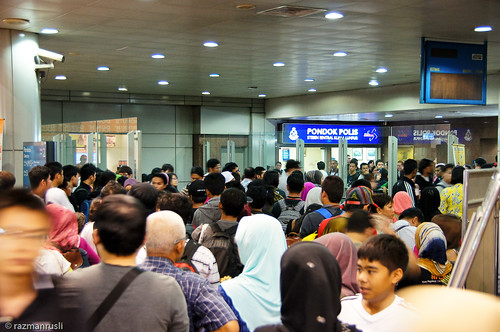
Waiting for departure @ KL Sentral

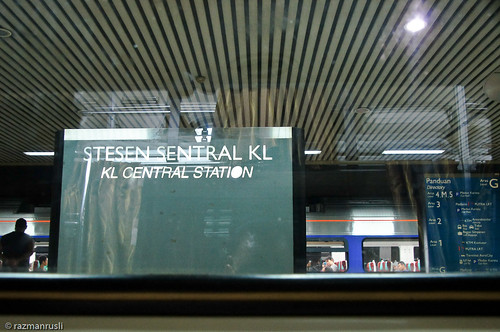
The Platform

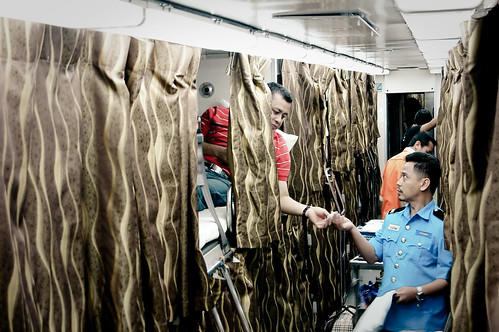
Ticket, ticket, ticket!!!

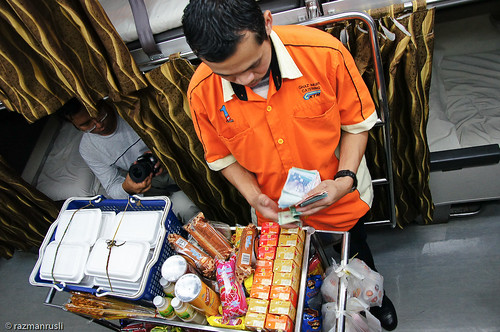
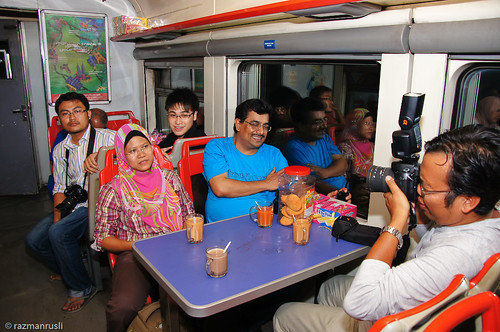
In-train meal service

Teh tarik session onboard the train

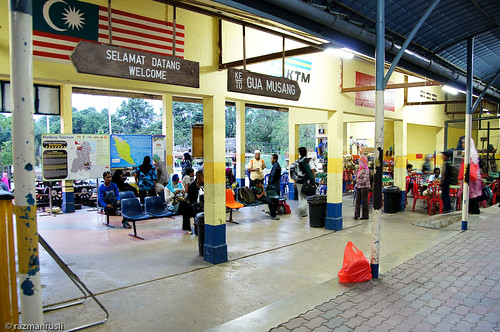
Gua Musang train station - waiting area

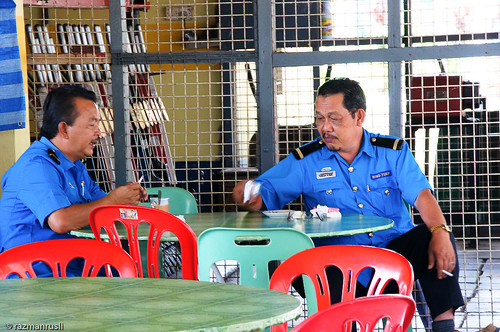
Take a break

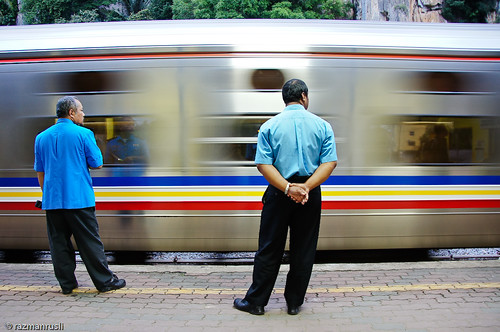
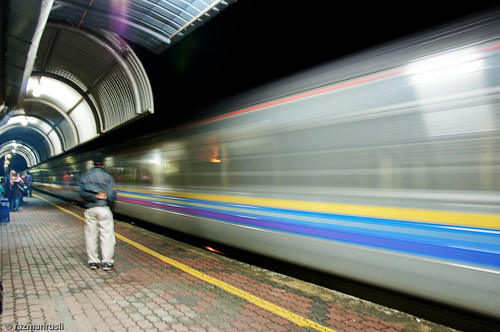
Passing by

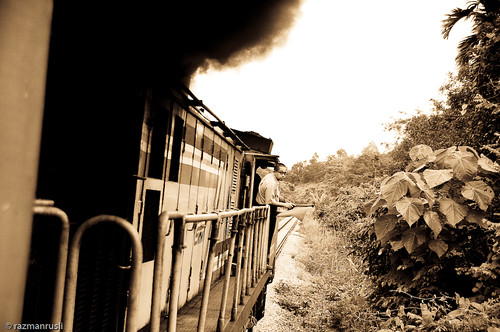
The driver

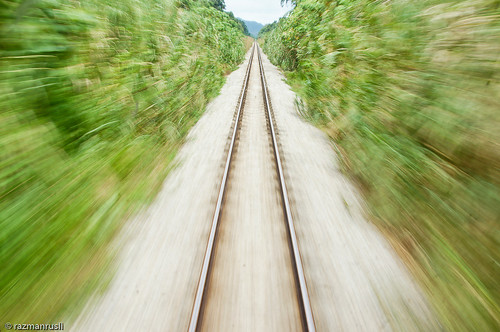
The Jungle Line

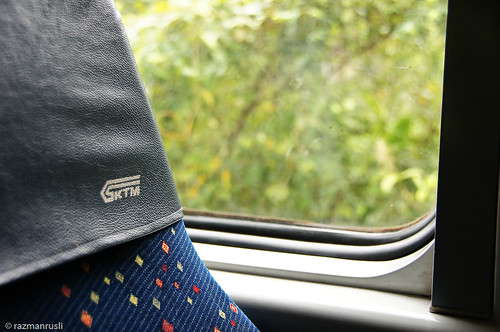
The Shuttle train seat

Kids leaving along the Jungle Line

Crossing the line


Kids in the shuttle train

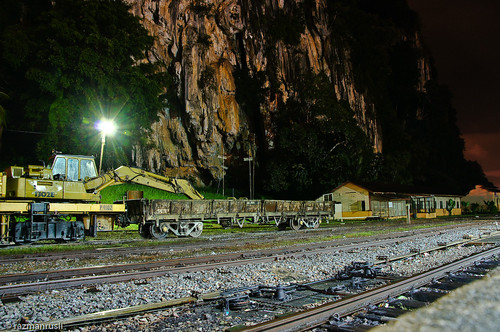
Gua Musang train station and railway at night

Time to get home

Wednesday 14 September 2011

Full moon 16 Syawal 1432H (13 September 2011)


Wahai janji setia sudah diucapkan
aduh kata bersumpah telah kupadukan
kini engkau pergi jauh membawa diri
tinggal daku saorang dalam sunyi sepi

Nun bulan ditutup awan
terkenang…
hati bertambah rawan

Wahai jikalau ku tahu janjimu palsu
tentu tidak kuturut sedari dahulu

Wahai janji setia sudah diucapkan
aduh kata bersumpah telah kupadukan
kini engkau pergi jauh membawak diri
tinggal daku saorang dalam sunyi sepi

Nun bulan ditutup awan
terkenang hati bertambah rawan

Wahai jikalau ku tahu janjimu palsu
tentu tidak kuturut sedari dahulu

Artist: Yuna
Song Title: Bulan Ditutup Awan

Thursday 8 September 2011

Satu Pagi diHari Raya

Lokasi: Pendang, Kedah
Tarikh: 1 September 2011


Satu pagi di hari raya
Aku sujud memuji Mu
Satu pagi di hari raya
Aku sujud membesarkan Mu

Ku melafazkan takbir
Penuh rasa kehambaan
Ku melafazkan tahmid
Penuh rasa kesyukuran

Gema takbir di pagi raya
Ku teringat kampung halaman
Aku di perantauan
Tak berdaya menahan sebak

Gema takbir di pagi raya
Ku rindukan ibu di sana
Keluarga sanak saudara
Hanya doa kukirim

Marilah di hari raya
Kita semua bermaafan
Lupakan persengketaan
Eratkan persaudaraan
Harmoni di hari raya

Artist: Raihan, Feat: NowSeeHeart

Friday 5 August 2011

Saturday 4 June 2011

Outdoor photoshoots with Eddieputera

Reflection of Tugu Negara on the model's eye.

Date: 14 Apr 2011
Event: Outdoor photoshoots with Eddieputera
Location: Tugu Negara, Kuala Lumpur

This photoshoot was organised by Kelab TM Metro KL for the first time and they had invited Eddieputera to impart his knowledge and skills on outdoor portraiture at Tugu Negara, KL.
 Tugu Negara signboard
However, it was raining from the start and we have no choice but to shoot only within the pavilion area of the Tugu Negara.
 Wet, wet,wet day.
Eddieputera begin the session with a brief on basics knowledge in photography such as aperture, shutter speed and important of light to photography.
 
  Eddieputera sharing his knowledge.
Then, Eddieputera let us loose for us to apply what he had briefed and take several photos of the surrounding area.  As it was raining, we were limited to only shoot from within the pavilion area. However, I managed to capture some of the following shots.
 Panoramic veiw of Tugu Negara and the pavilion.

 An artist at work.

 Tugu Negara from back.

 The plague commemorating the opening of the Tugu Negara on 1966.

 A tourist taking picture of her family .

 Mimie posing for the shootout.

Then, after divided us into three groups, each of the group has been assigned with a model and I was in a group with a model named Mimie.  These are some of the shots taken on this model.
 One of the shot taken with Konica Minolta 50mm1.7 lense.

 A high-key shot.

 A shot using wireless flash.

  My free-style shot.

 Mimie with hijab.


 A shot with tele-lense.
 
As we are shooting, curious onlookers and tourist take the opportunity to take a photo of our model too.
Curious tourist joining the shootout albeit with his handphone camera.

All in all, it was a good experience for me as this is my 1st time going out doing portratiure with the pro.  I'm really looking forward for the next outing with the club.

Monday 23 May 2011

Good Morning Alor Setar.. Lets try manual white balance...

Date: 25 Apr 2011
Event: Outstation works
Location: Alor Setar, Kedah
I was in Alor Setar last month for some works and stayed in the Holiday Villa hotel.  Every morning, after Subuh, I enjoyed the beautiful view of the town with Alor Setar Tower at one side and part of Gunung Jerai at the backround, prior to the sunrise.  To capture these moments, I've tried to catch it by playing different white balance (Customise) instead of the AWB (Auto Wide Balance) based on lesson taught by Masta Lufiahs.

Firstly, I set the white balance to the lower end at about 3000 Kelvin (K).  Notice on the 'bluish' colour or cold feeling of the picture as a result of this.

Alor Setar in Blue.

Next, I set the white balance to the upper limit at around 5500K.  Take note on the 'yellowish/orange' or warm mood of the picture.  Please ignore the several dirt on the pictures as this was taken behind the hotel's glass window.

 Alor Setar in Orange.

Finally, I've tried several shots by lowering several hundred kelvins at one time until I get the kind of mood that I want which produced the following.
 
The 165m Alor Setar Tower.

Kind of easy right... Let try yourself when you go for shooting next time around...

Special credit to Masta Lufiahs for his simple but easy to understand 'tutorial' that finally make this happen.

Wednesday 18 May 2011

Learning Food Photography

Date: 14 May 2011
Event: Alpha Food Photography Workshop
Location: Social@KL, G Tower Hotel, Jln. Tun Razak, KL

 Group photo with other participants, En. Azhar & John, the organiser. (Photo credit to John Shum, Sony Malaysia)
 
I've got a chance to attend a workshop on Food Photography organised by Sony Malaysia recently for Alpha users.  Held at a swanky Social@KL restaurant, in G Tower hotel, we've been given few lessons on how to shoot food photography more effectively by a professional food photographer, En. Azhar Ariff.  He is the Managing Photographer of Fotomomo Studio and one of the photographer for Time Out KL and Expatriate Lifestyle magazines.

 The 4 dishes.
 
During this workshop, we've been given the chances to shoot 4 dishes specially prepared by the restaurant. 
 Azhar is busy setting up the lights for the shots.
 
En. Azhar started with some basic knowledge on food photography.  There are 3 types of food photography:
    a. Packaging
    b. Advertising
    c. Editorial 

The 1st two would normally require every details of the foods to be seen while the last would allow for shallow depth-of-field kind of shots.


 The setup used for the 1st dish.  The Mac Pro notebook wasn't part of it and was meant to show the sample shot taken earlier by the pro on the same dish.
 
The angle of shots could be from 3 different positions:
   a. Standing
   b. Table-level
   c. Aerial/Top.

Light and shadow positions are important aspects for food photography. Always ensure the food is shot with shadow facing towards the camera as shown below.  It appears that we would require several trial and error steps to get the best shadow positions and 'reasonable' lighting for the shot.


  My shot on the 1st dish.
 
Another tip is don't forget to start with an insurance shot which is a 'loose' shot without any cropping of the food and its plate.  We could crop this shot later in case the rest of the shots are not good.


 My good insurance shot as praised by En. Azhar.
 
Also, it is safe to mostly filled the frame and avoid empty spaces around it.  For the food arrangement, always focus the shot on the main item on the food, in this case, the tuna, instead on the condiments and cheese flakes around it as below.


 Fill the frame.

 
In addition, it is good to vary our shots with both vertical (portrait) or horizontal(landscape) orientation.
 Vertical orientation shot.


For food on rectangular plate, it is better to have the close-up of the food rather than shot of the entire plate.
 Food on rectangular plate.


 An Aerial shot of food.


A Table-level shot of food.


In a nutshell, I've learn quite a lot from the pro on a very niche area of photography.  Thank you very much to En. Azhar who always willing to share tips and tricks on food photography as well as provide good critics on the shots we had.

One final tips he had given was:
Sometimes, the food we have is not as presentable as we wanted. Therefore, food photo retouching can also "beautify" the shot. Retouching involves cleaning up messy plate liners, spills, and food imperfections.